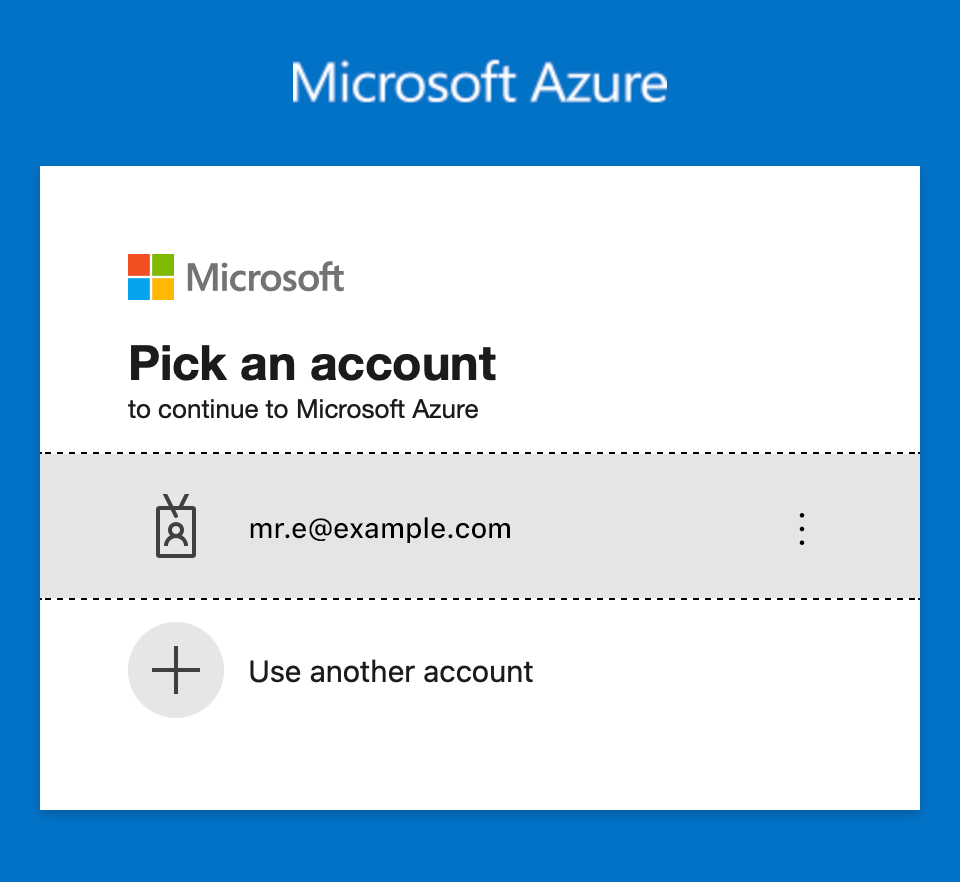
- Sign in to the Azure portal: https://portal.azure.com/
2. Under Azure services, click App registrations.

If App registrations is not visible, click More services and use the Search field, or scroll down to the Other group.
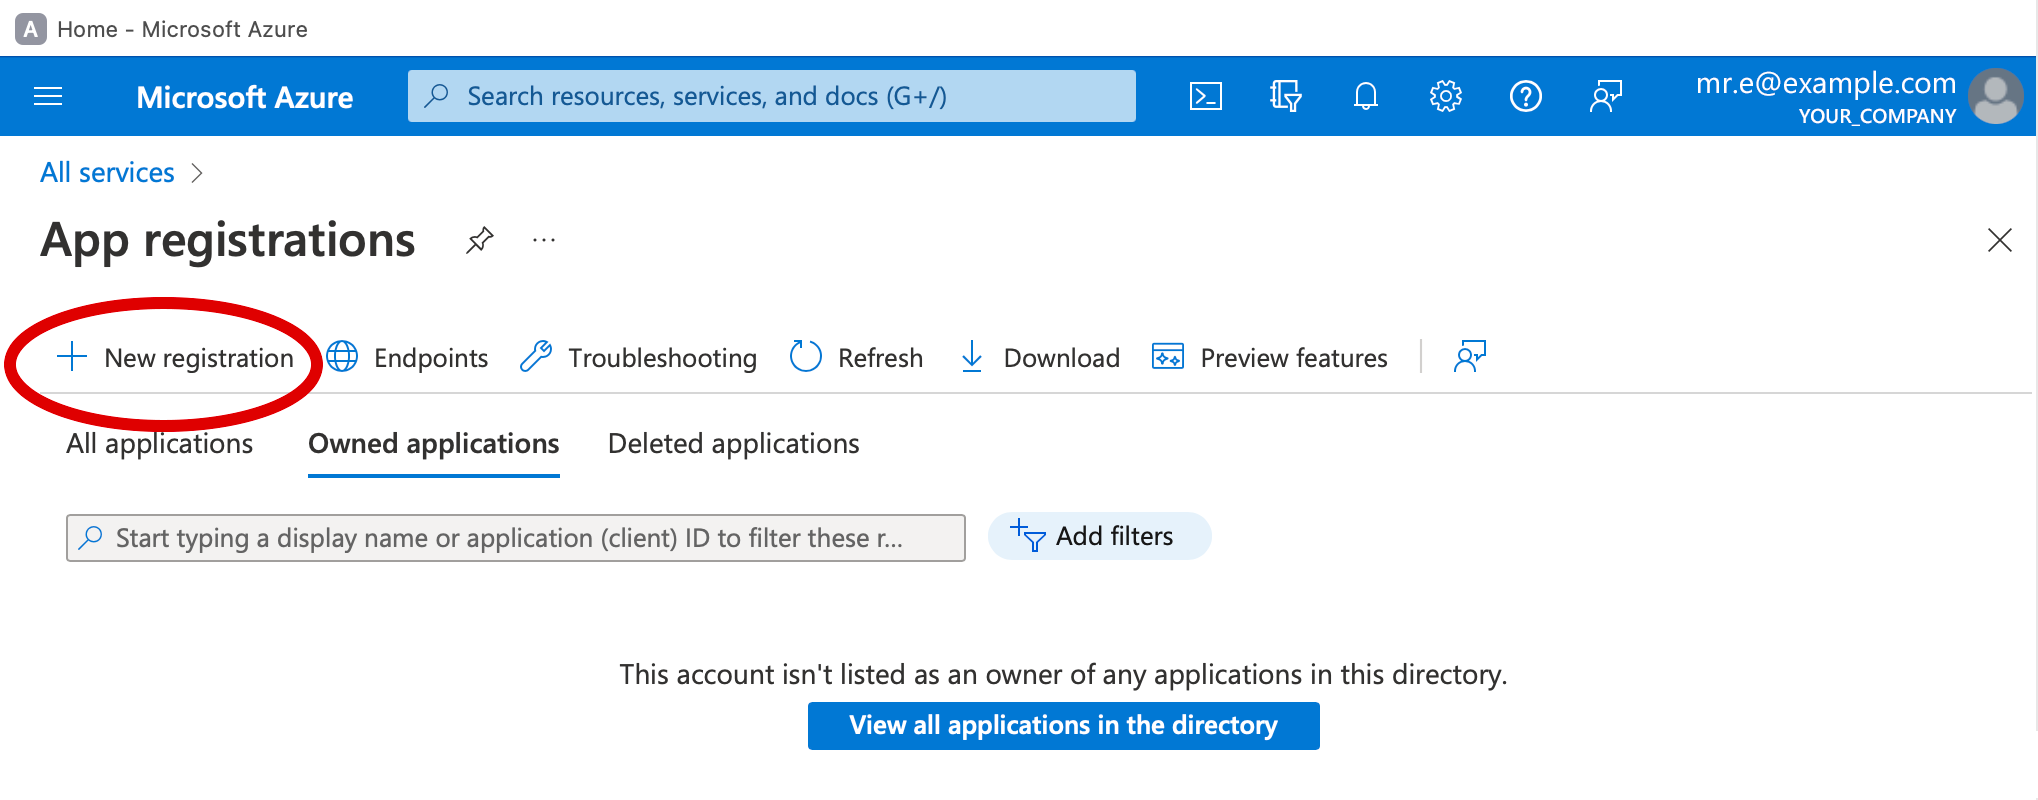
3. Click New registration at the top left of the window.
4. Enter Extensis Connect for the Name of the app.
You can have multiple versions of the same app, just use different names (such as Extensis Connect - Marketing).
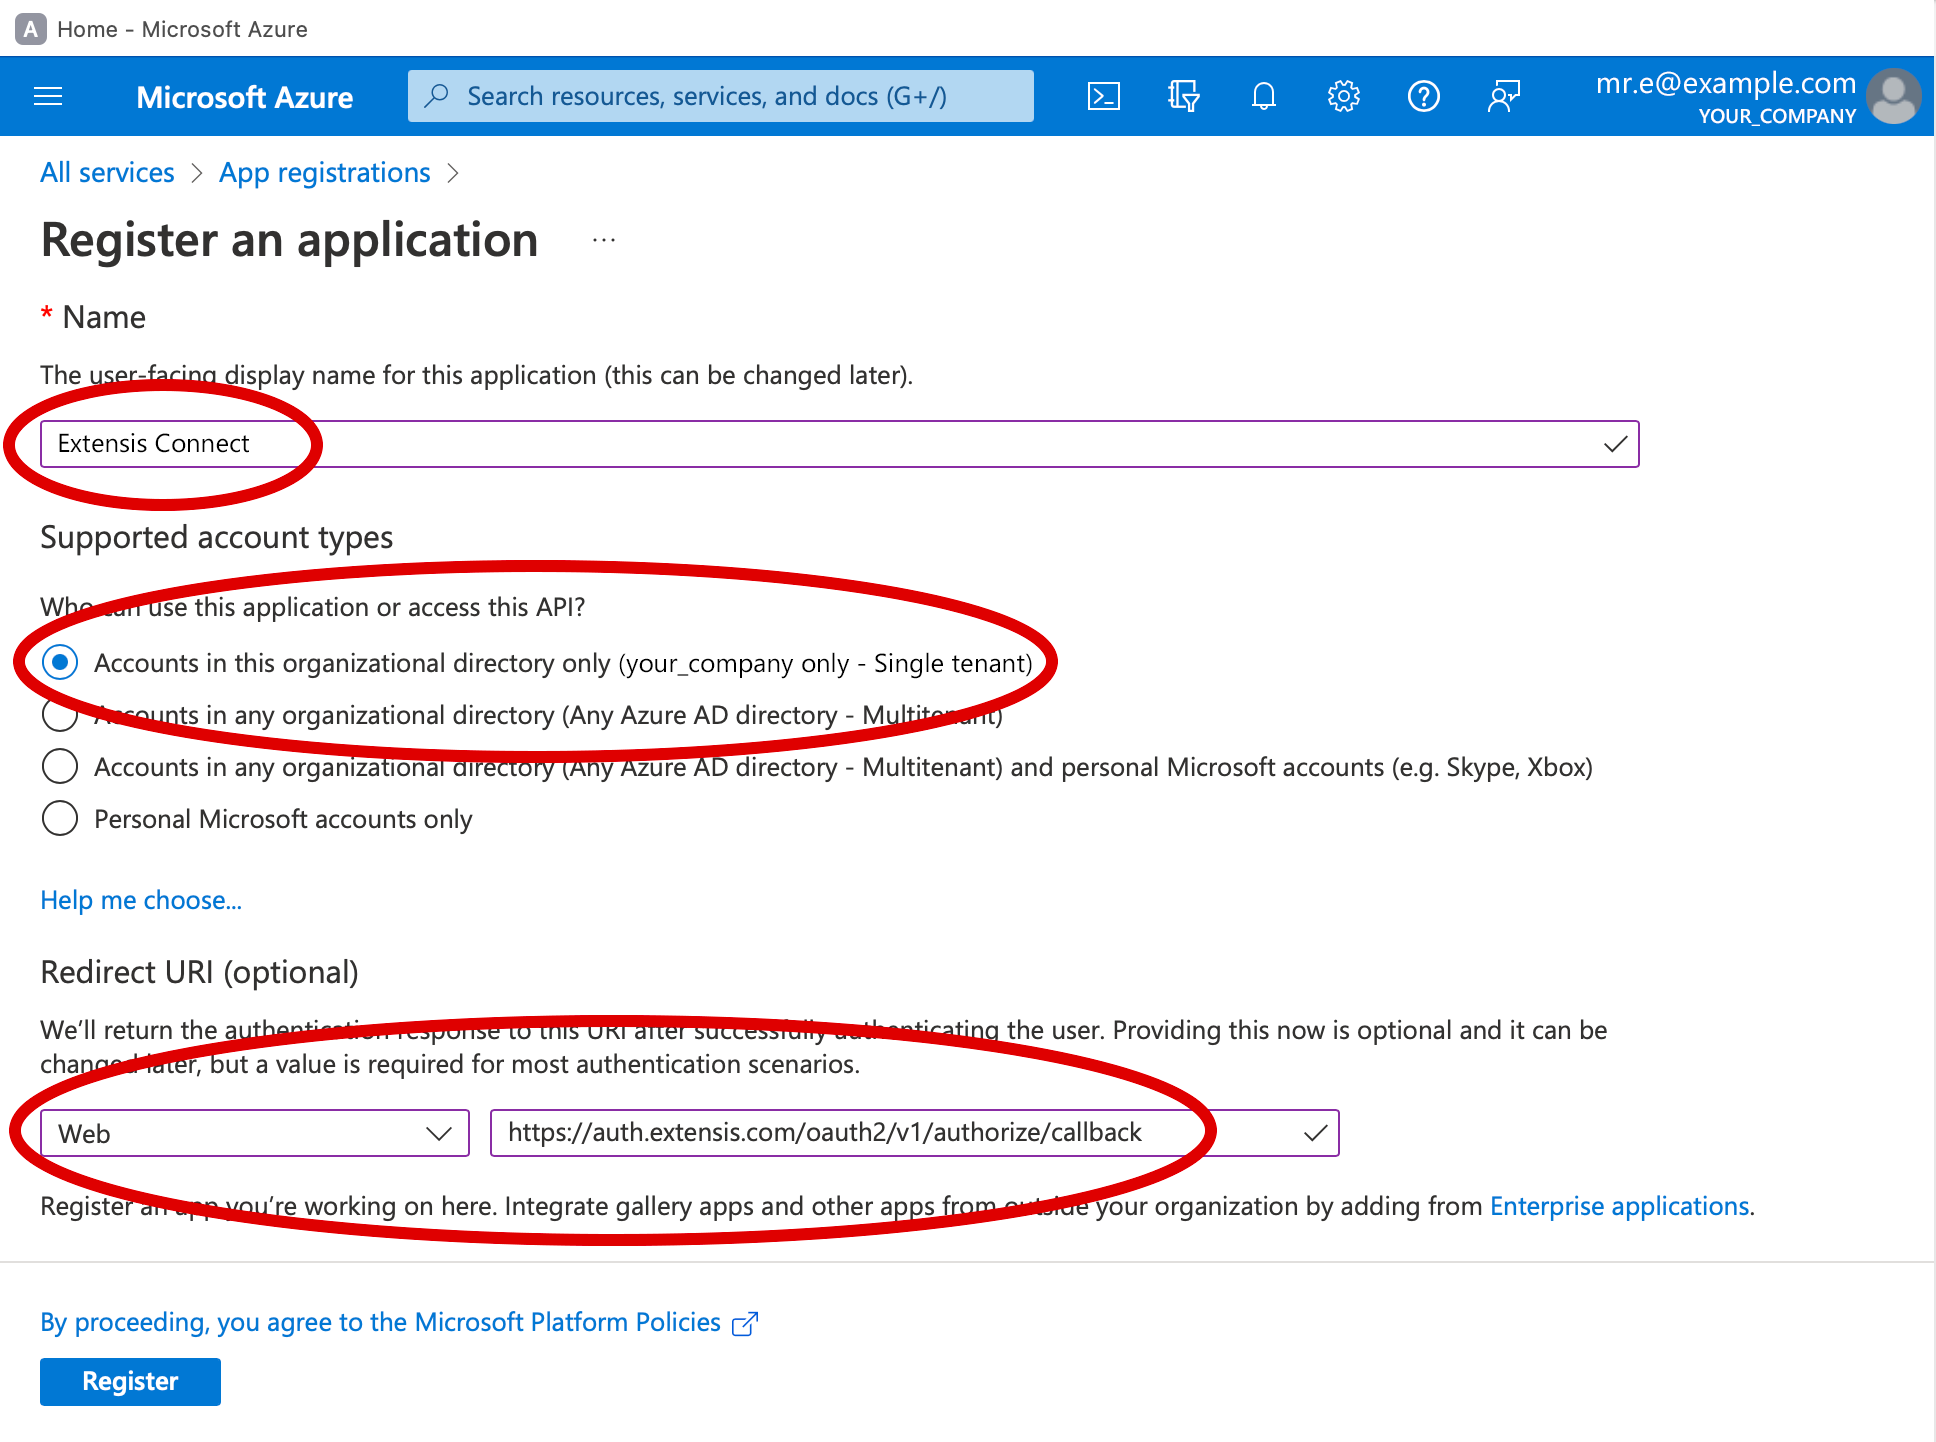
5. Under Supported account types, select Accounts in this organizational directory only (tenant_name only - Single tenant).
6. Under Redirect URI, choose Web from the Select a platform menu, then enter https://auth.extensis.com/oauth2/v1/authorize/callback in the path field.
Although the Azure page says this is optional, Extensis Connect requires this information.
7. Click Register at the bottom left of the window.
After a few seconds the screen changes to your app registration details.
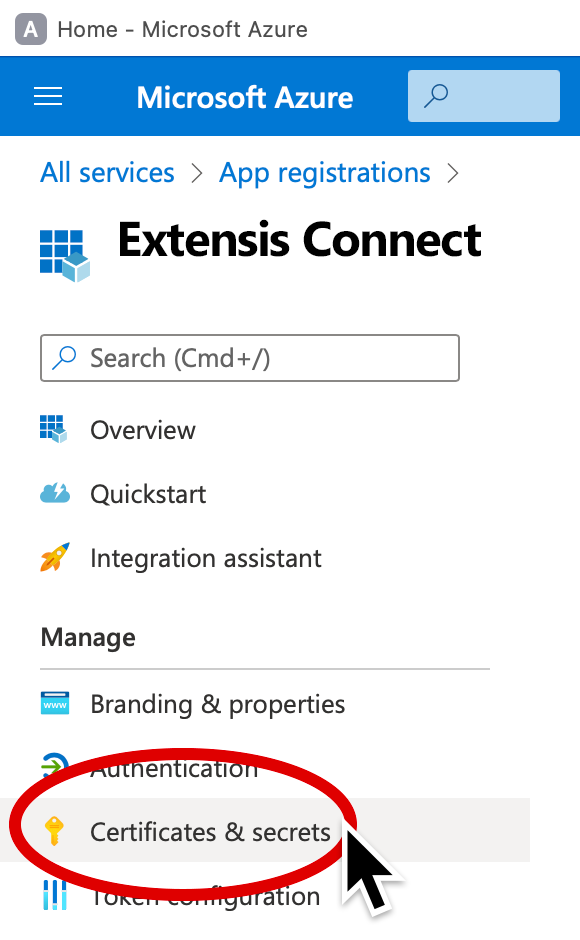
8. Click Certificates & secrets in the pane on the left.
9. Click New client secret near the center of the screen (above the empty list).
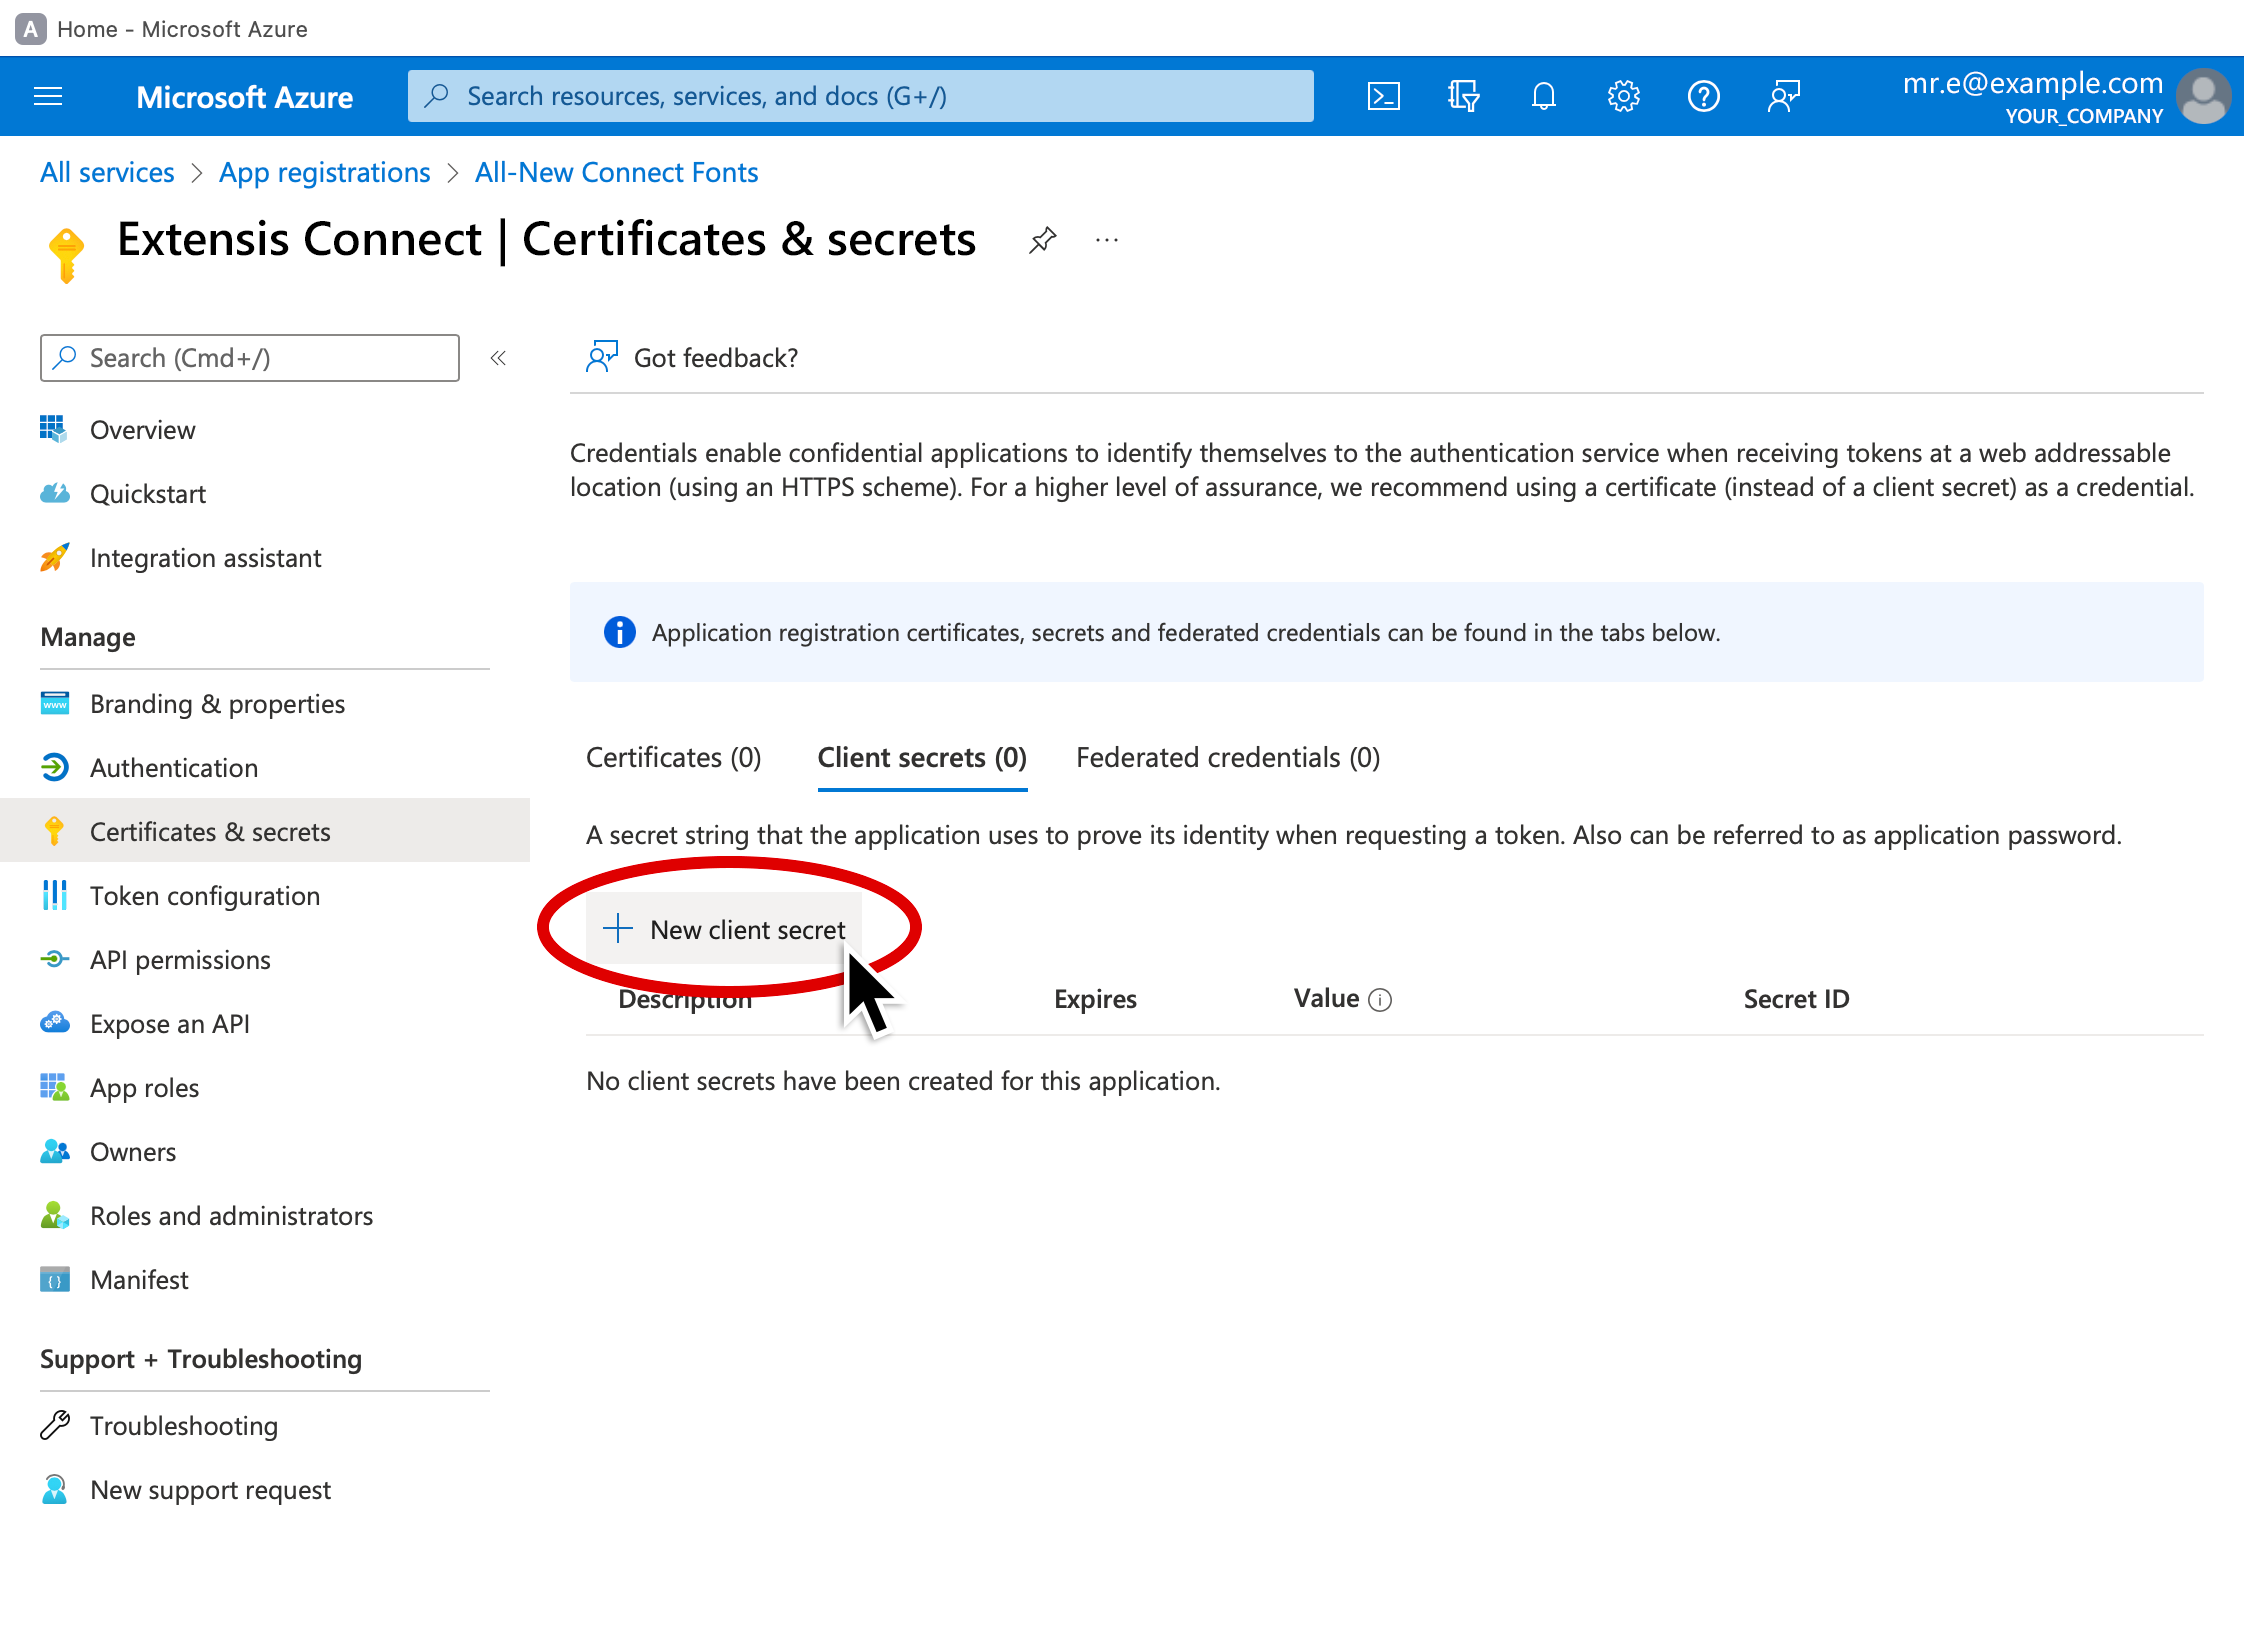
10. Enter a description for the secret.
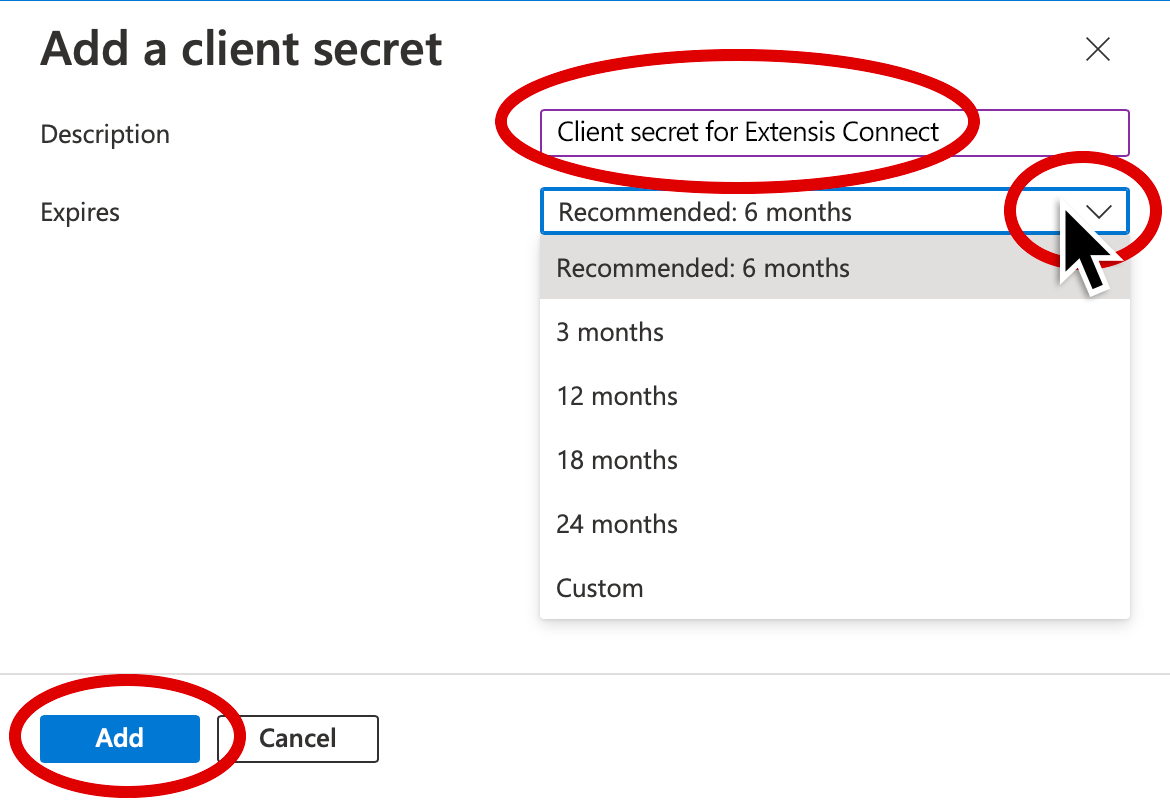
11. Use the Expires pop-up menu to choose when the secret will expire.
Note: To continue using the application, you will need to renew the secret before it expires. It can be helpful to set a calendar reminder to do so before the secret expires, as you will be unable to login to Connect when the secret expires.
12. Click Add at the bottom left of the client secret pane.
13. Click the Copy icon next to the secret Value to copy it, then paste it to a temporary document.
If you don’t copy it at this point, it will be hidden and you will need to re-create it.

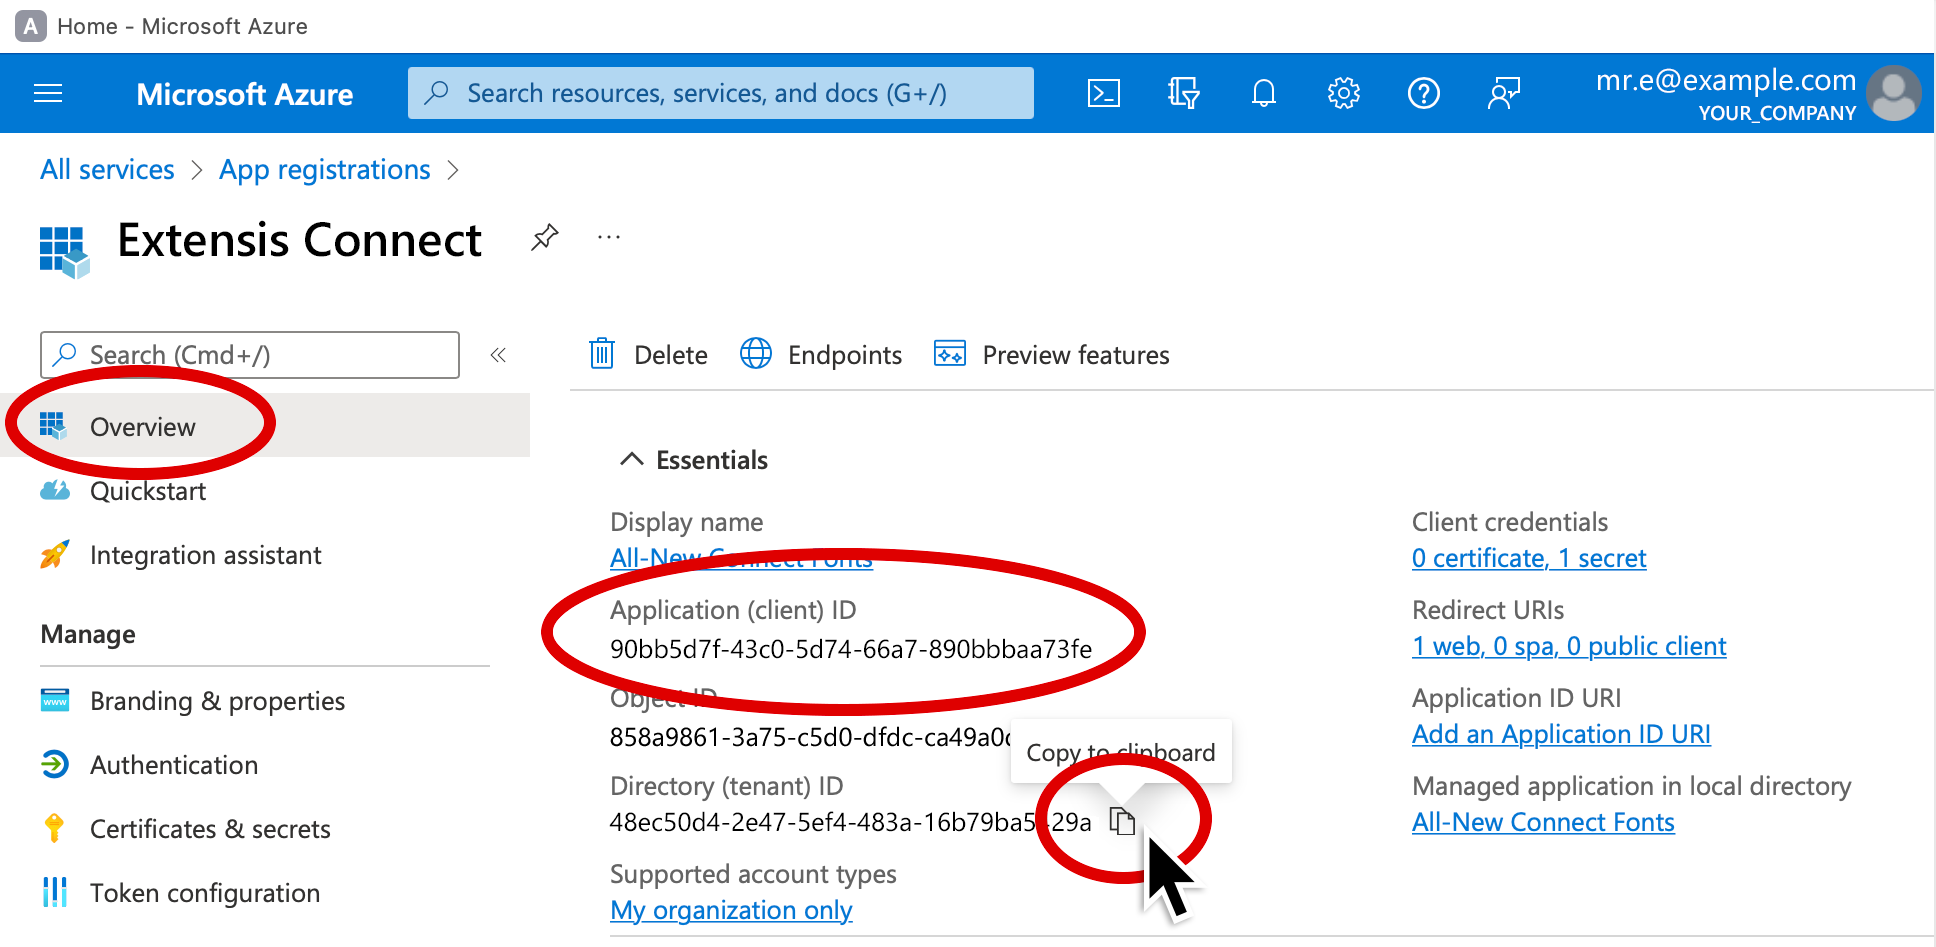
14. Click Overview (at the top of the left panel).
15. Copy the Application (client) ID and Directory (tenant) ID to a temporary document.
Restricting access to specific users or groups
Complete the following steps to restrict access to the Extensis Connect app to a subset of users or groups.
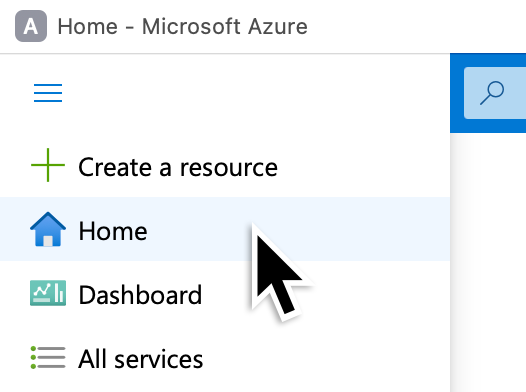
1. Choose Home from the "hamburger" menu at the top left of the window.
2. Under Azure services, click Microsoft Entra ID.
(If Azure Active Directory is not visible, click More services.)
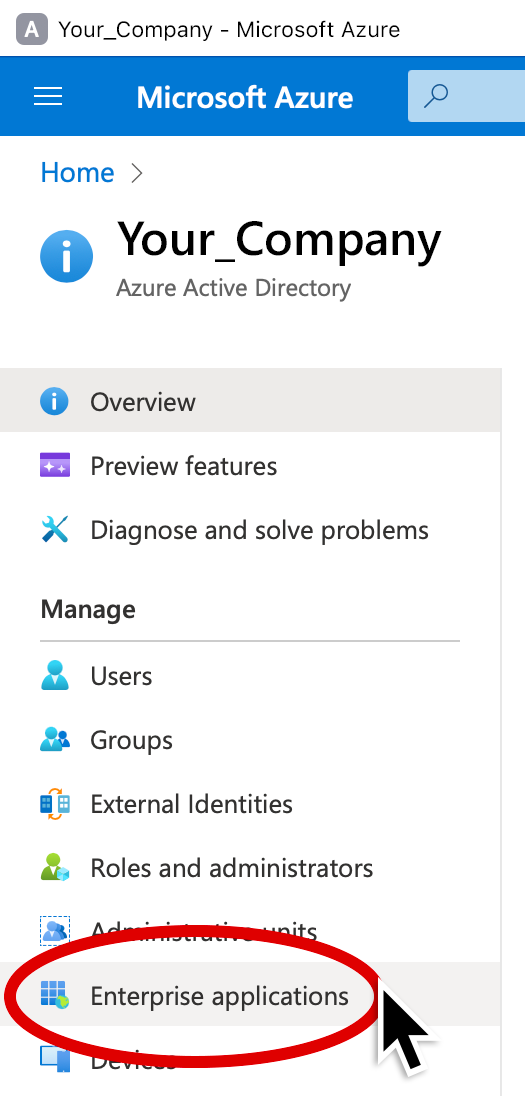
3. Click Enterprise applications (in the left pane).
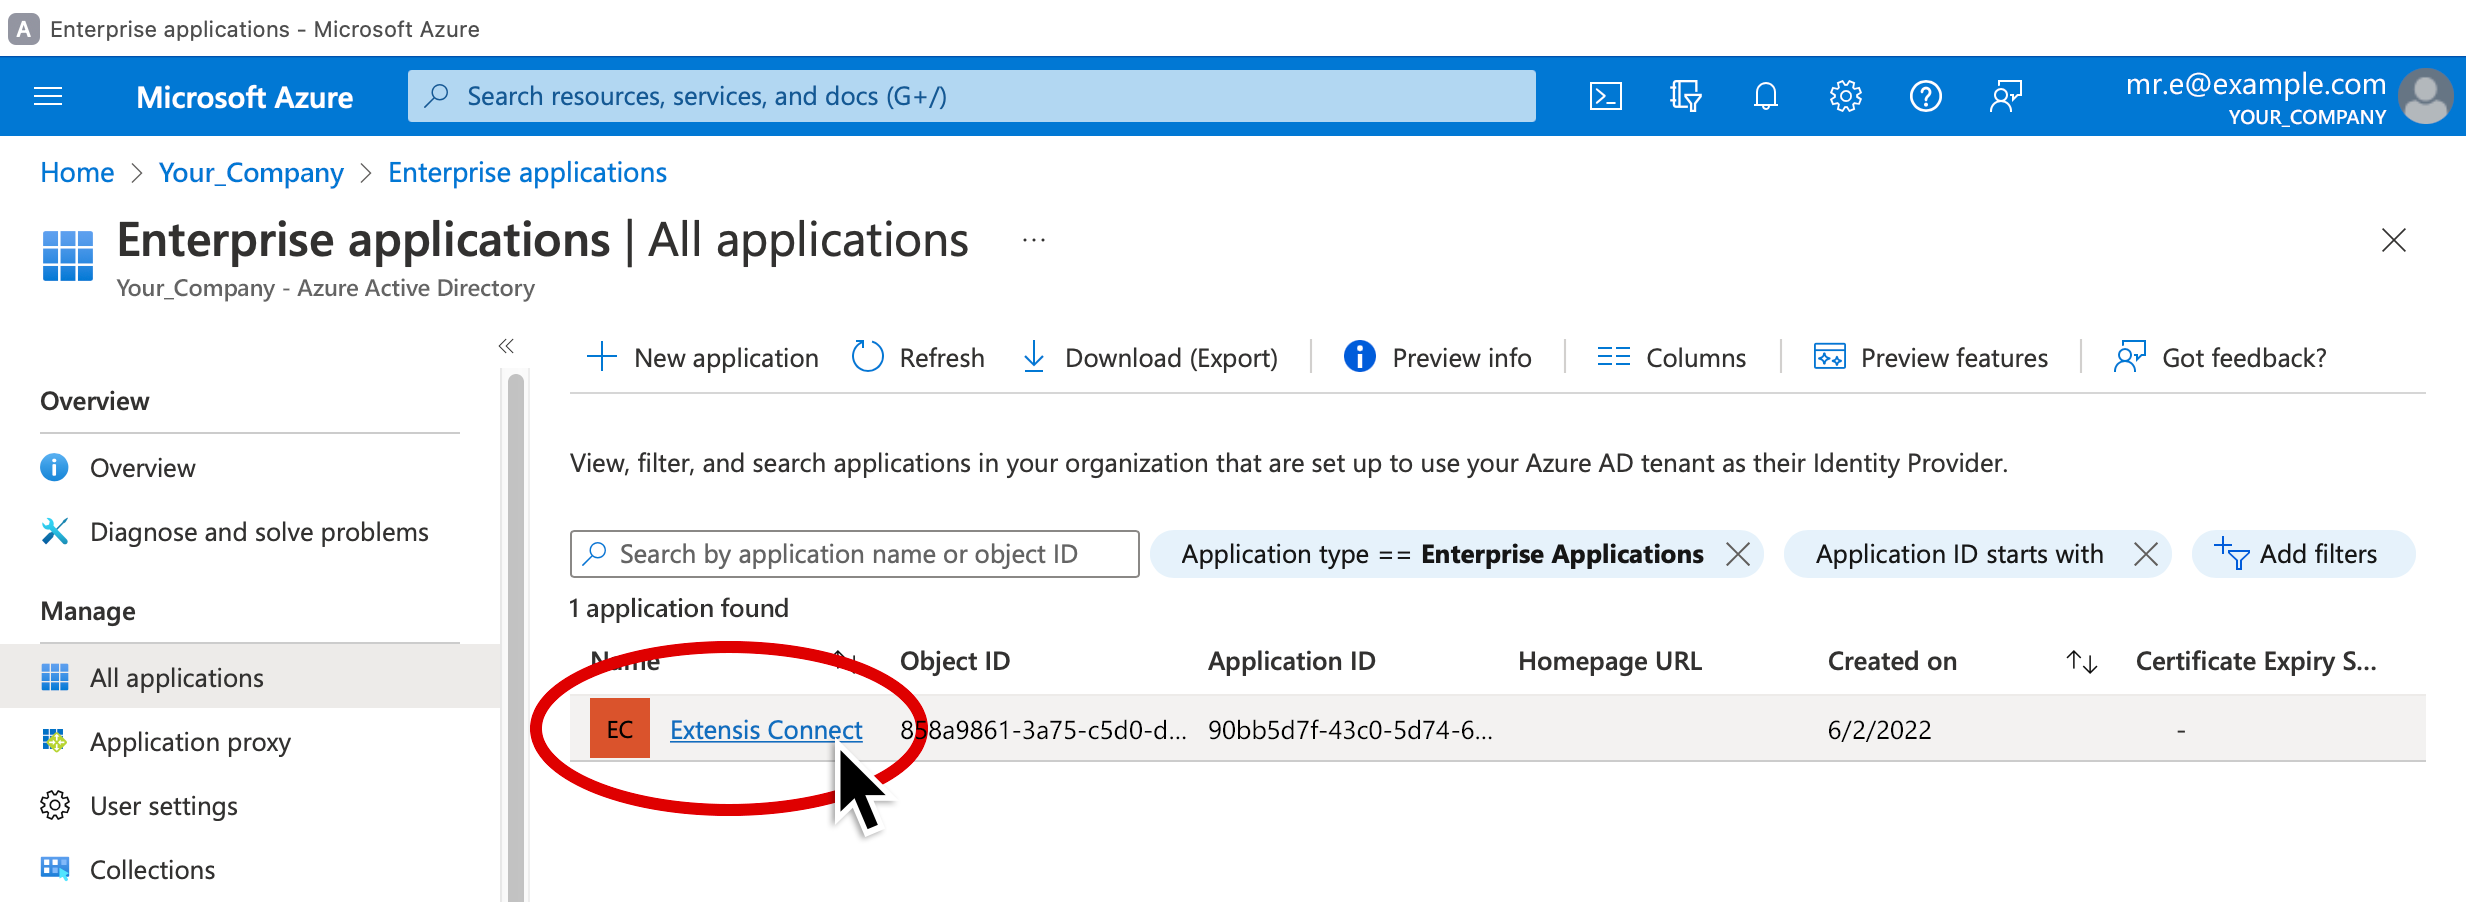
4. Click the Extensis Connect app from the list (look for the app name that you entered in step 4 above).
5. Click Properties (in the left pane).
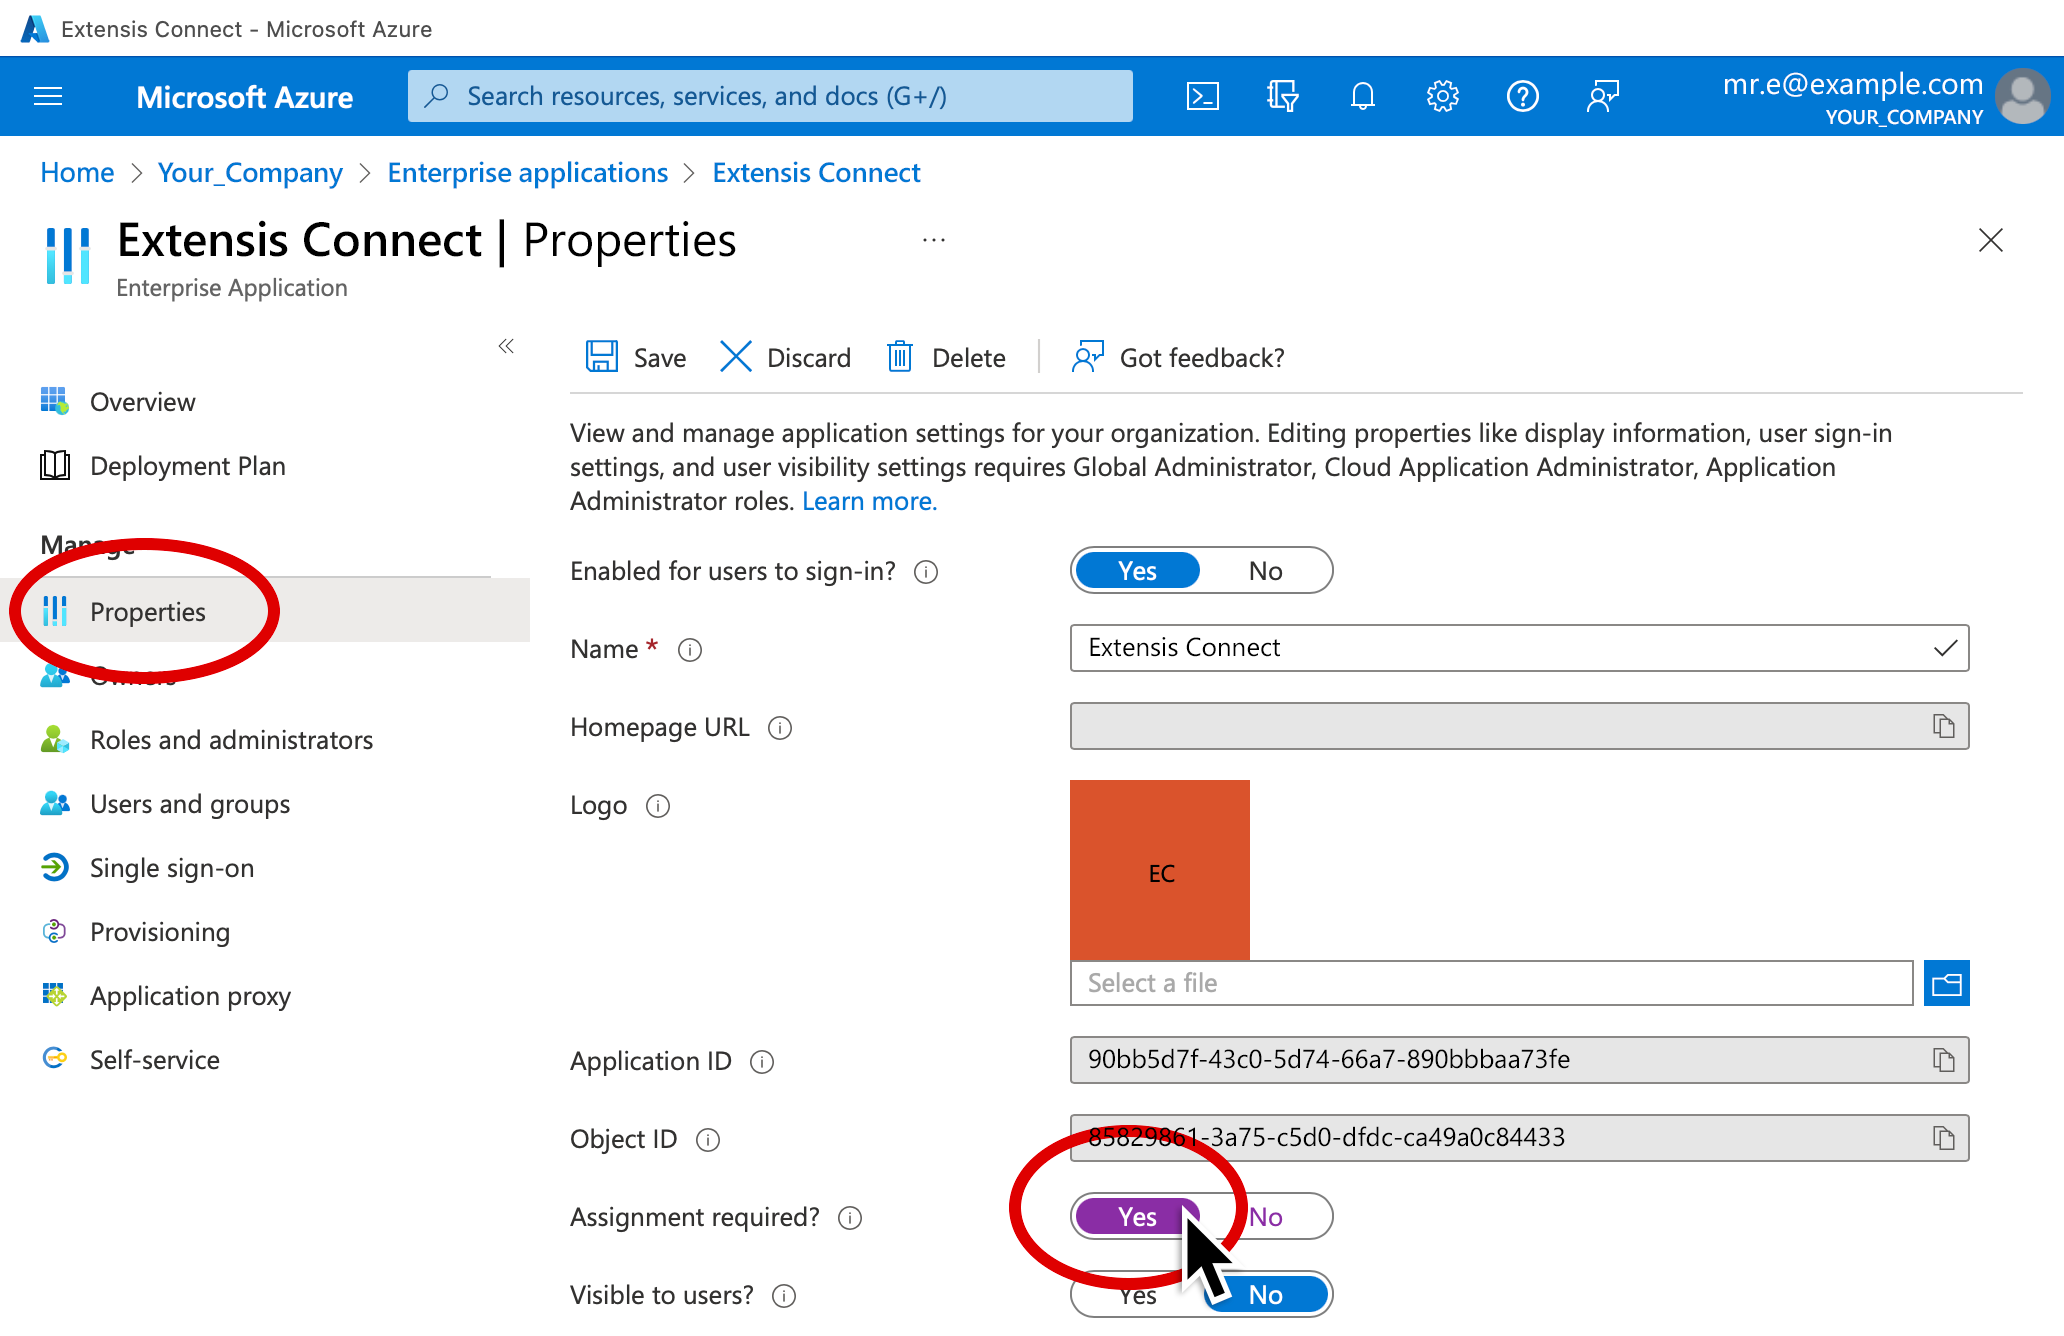
6. Toggle Assignment required to Yes.
7. Click the Save icon near the top of the window.
8. Click Users and groups (in the left pane).
(Your Azure license may only allow assigning users.)
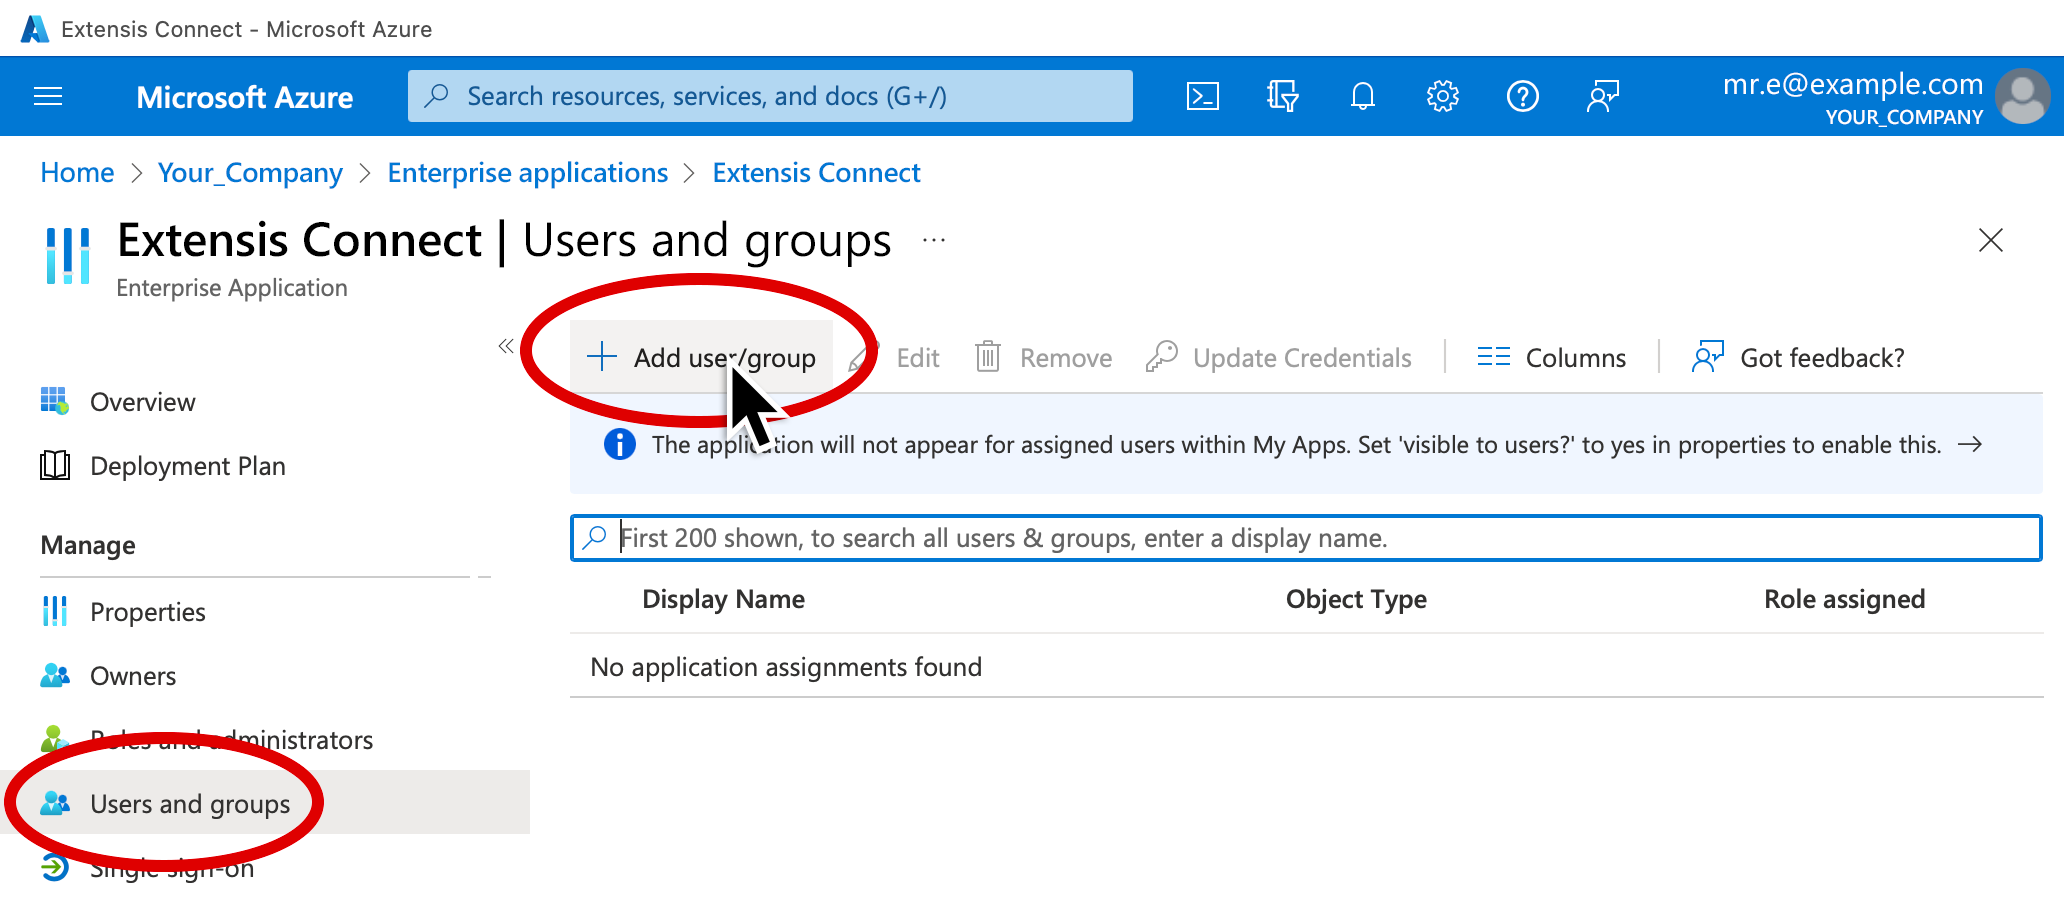
9. Click Add user/group at the top of the window.
10. In the Add Assignment window, click None Selected under Users and groups at the left
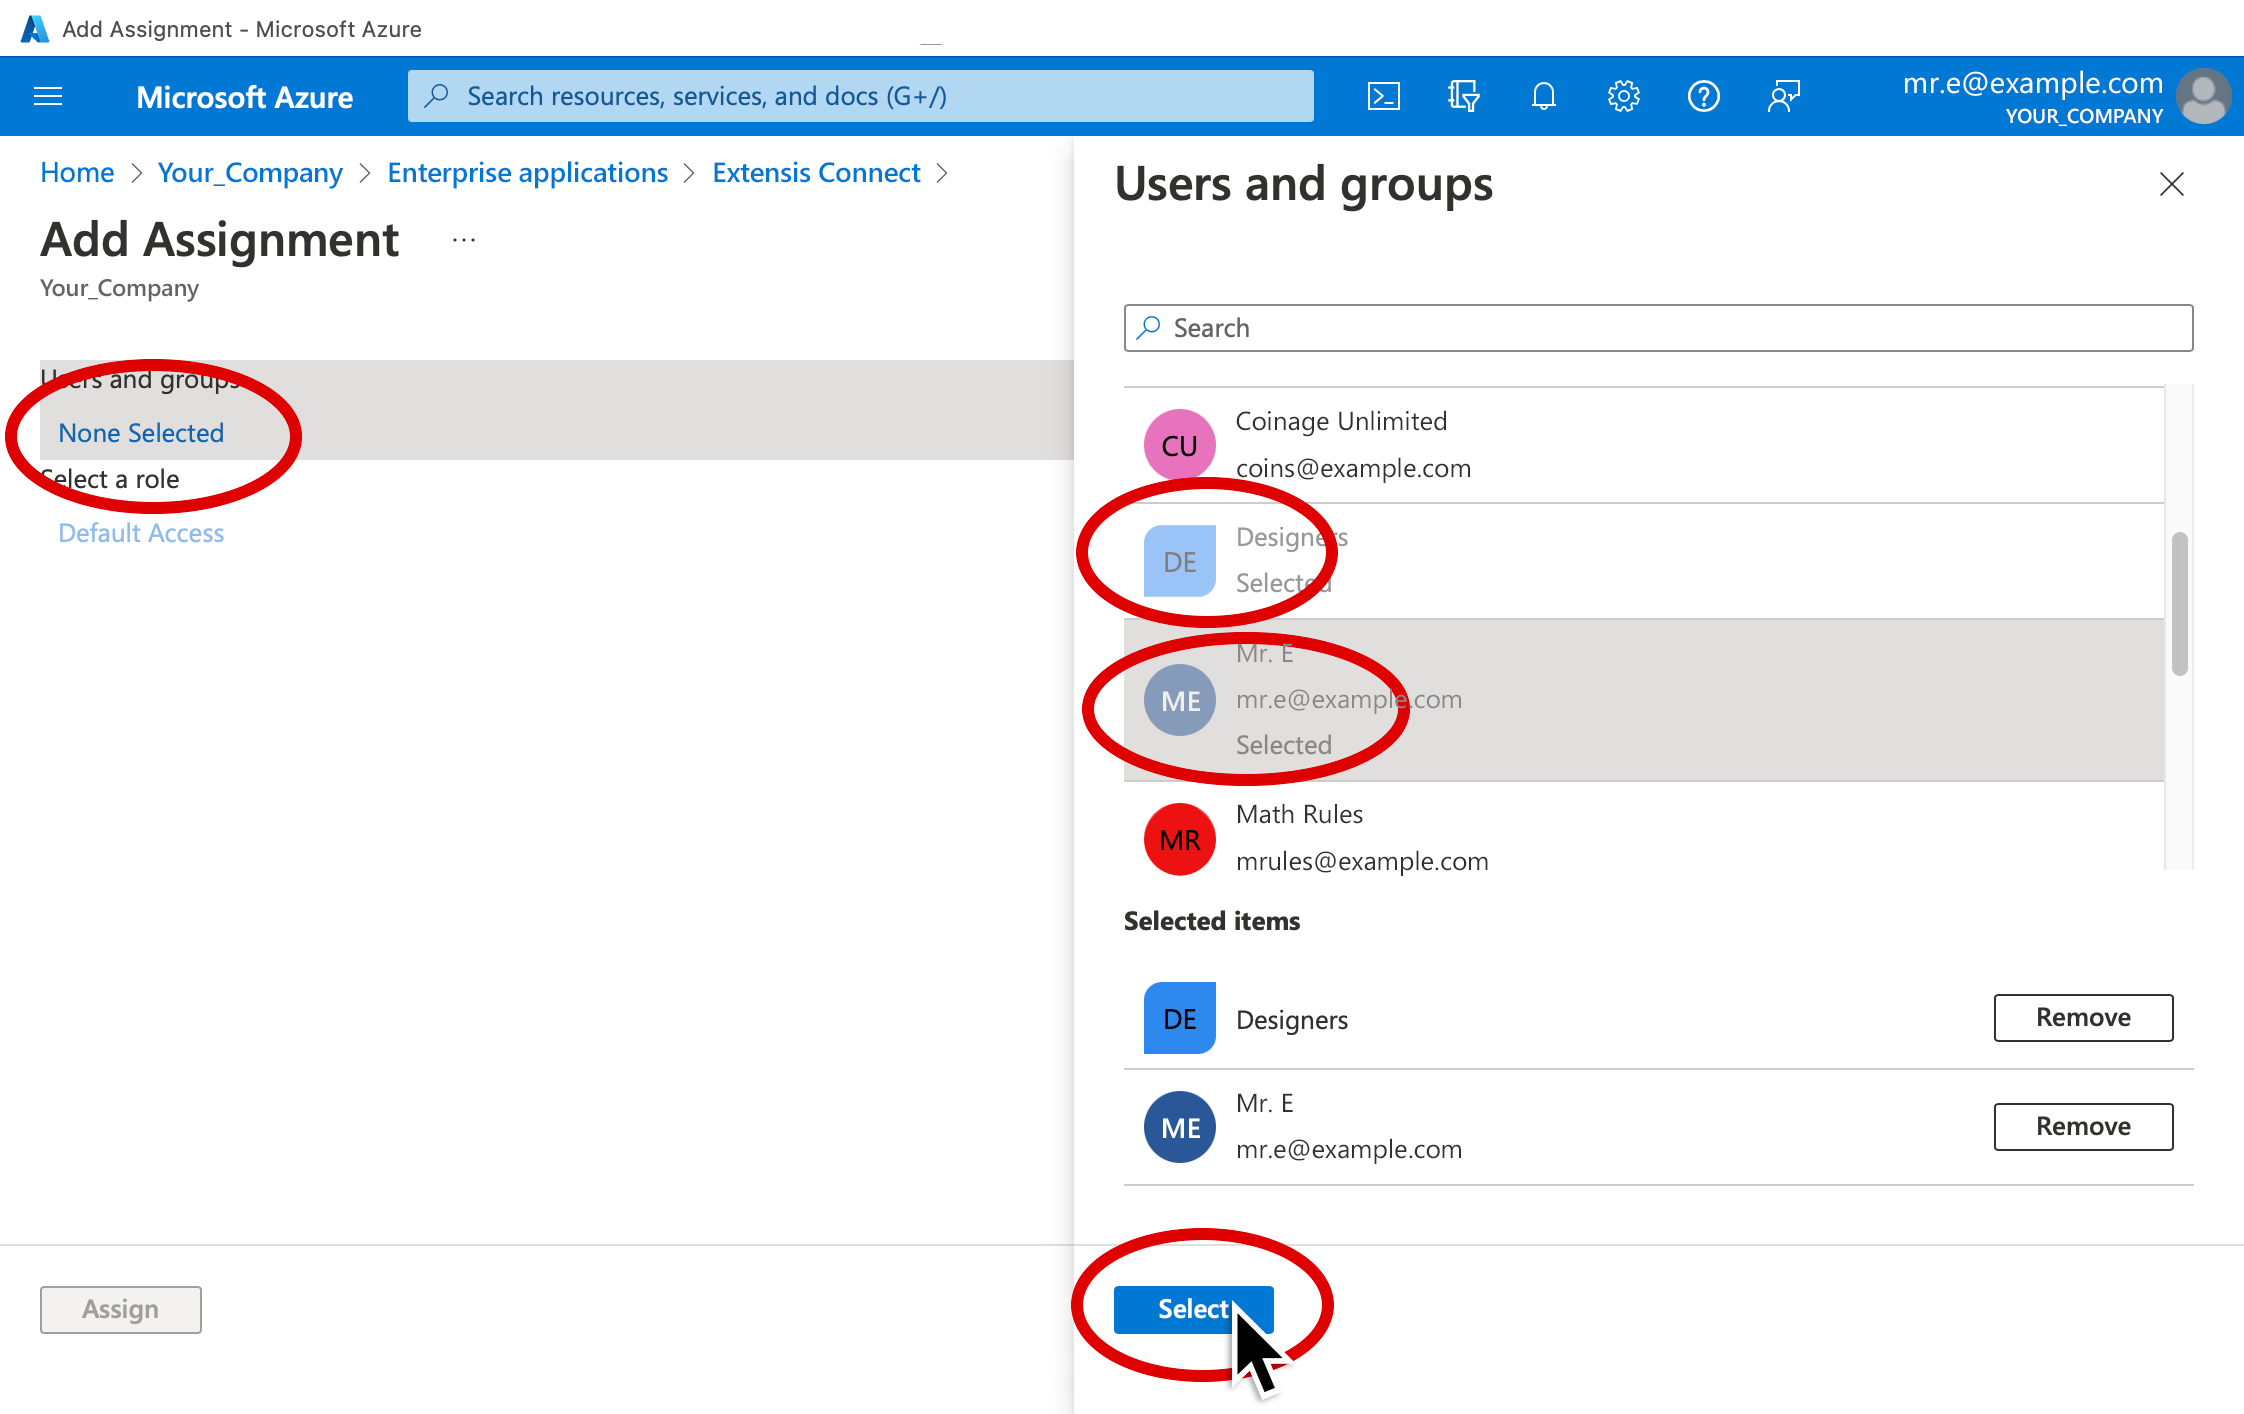
11. Click any users or groups that you want to assign to your application, then click Select at the bottom left of the Users and groups pane.
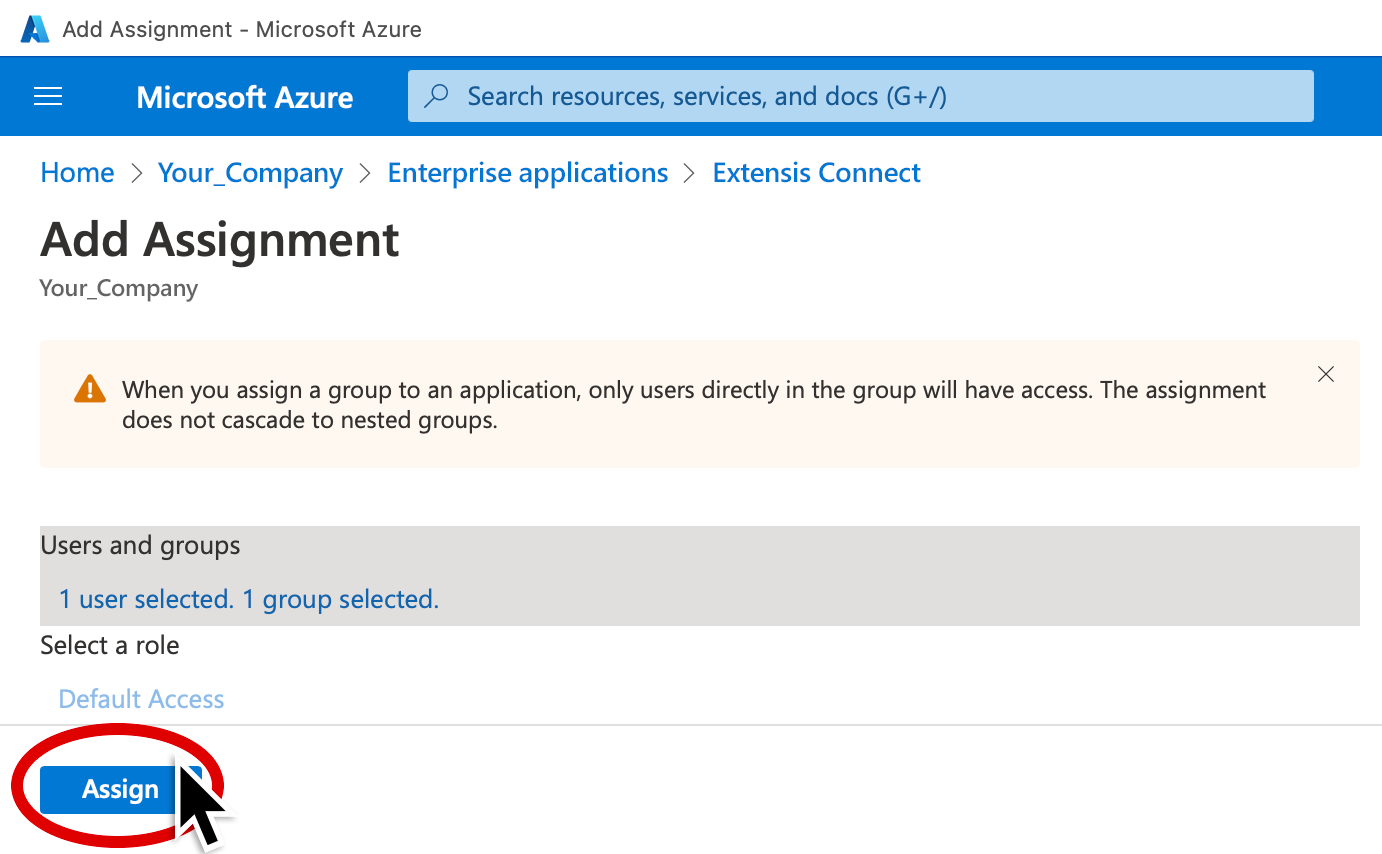
12. Click Assign in the Add Assignment window.
Receiving “Need Admin Approval” Error When Logging into Connect with AAD Credentials
- Select Extensis Connect within your App Registrations service
- Click on API Permissions
- Look for “Grant admin consent for…” above the list of Permission names and select it, and then select “Yes” to confirm the change
That’s it! The next step is to configure Azure within Extensis Connect.
