-
Sign in to your organization’s Okta portal as an application administrator or a super administrator.
- For example,
yourcompany.okta.com - This is called your "Okta domain." Make a note of it so you can use it later when you configure Okta within Connect
- For example,
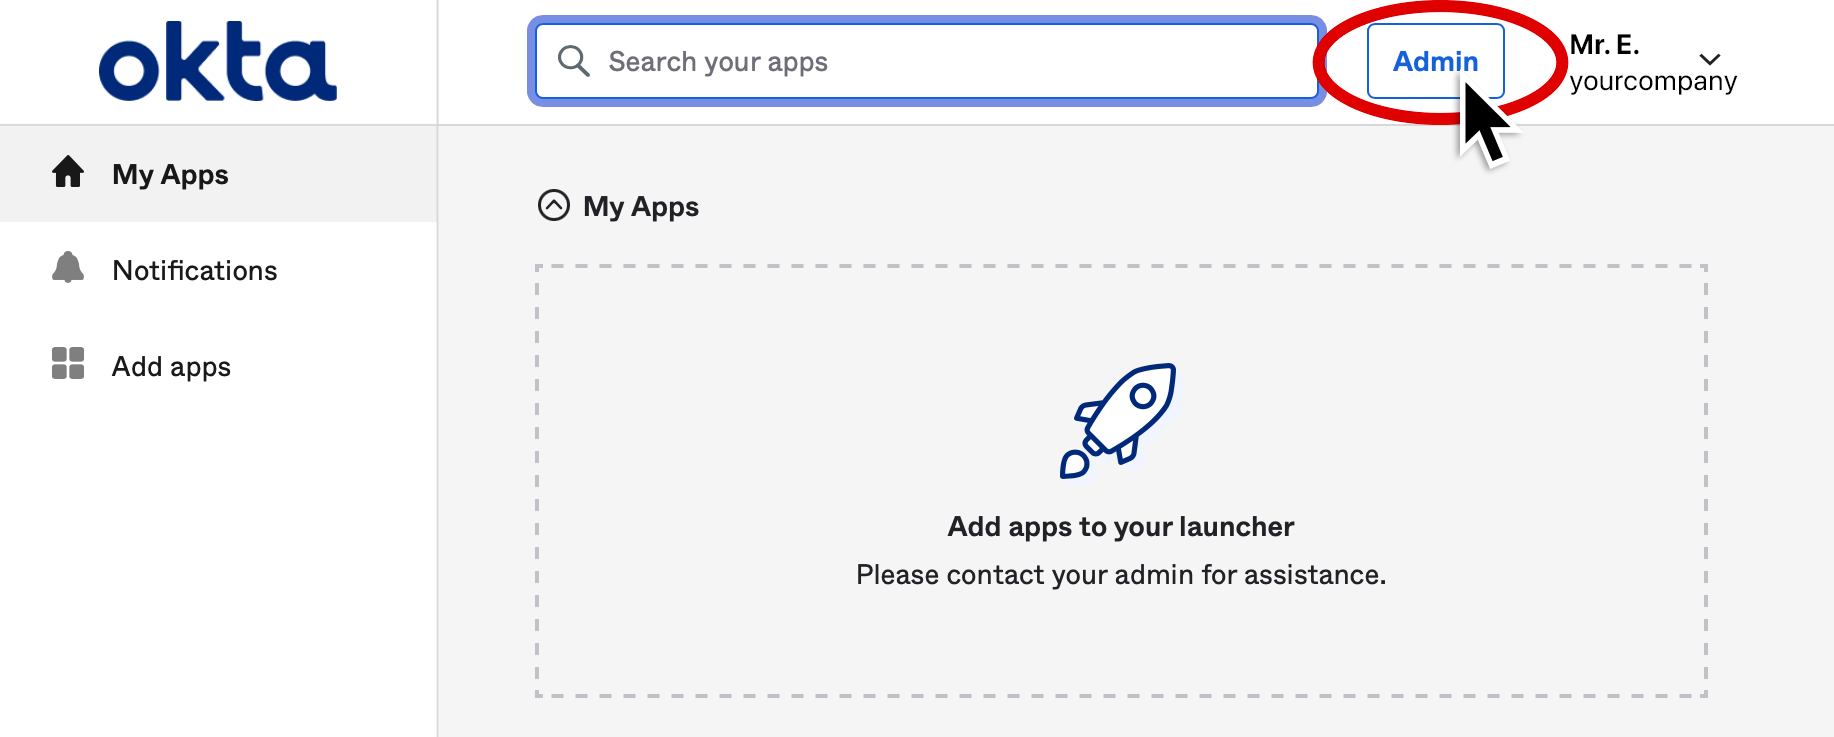
- Click Admin at the top right of the Dashboard screen.
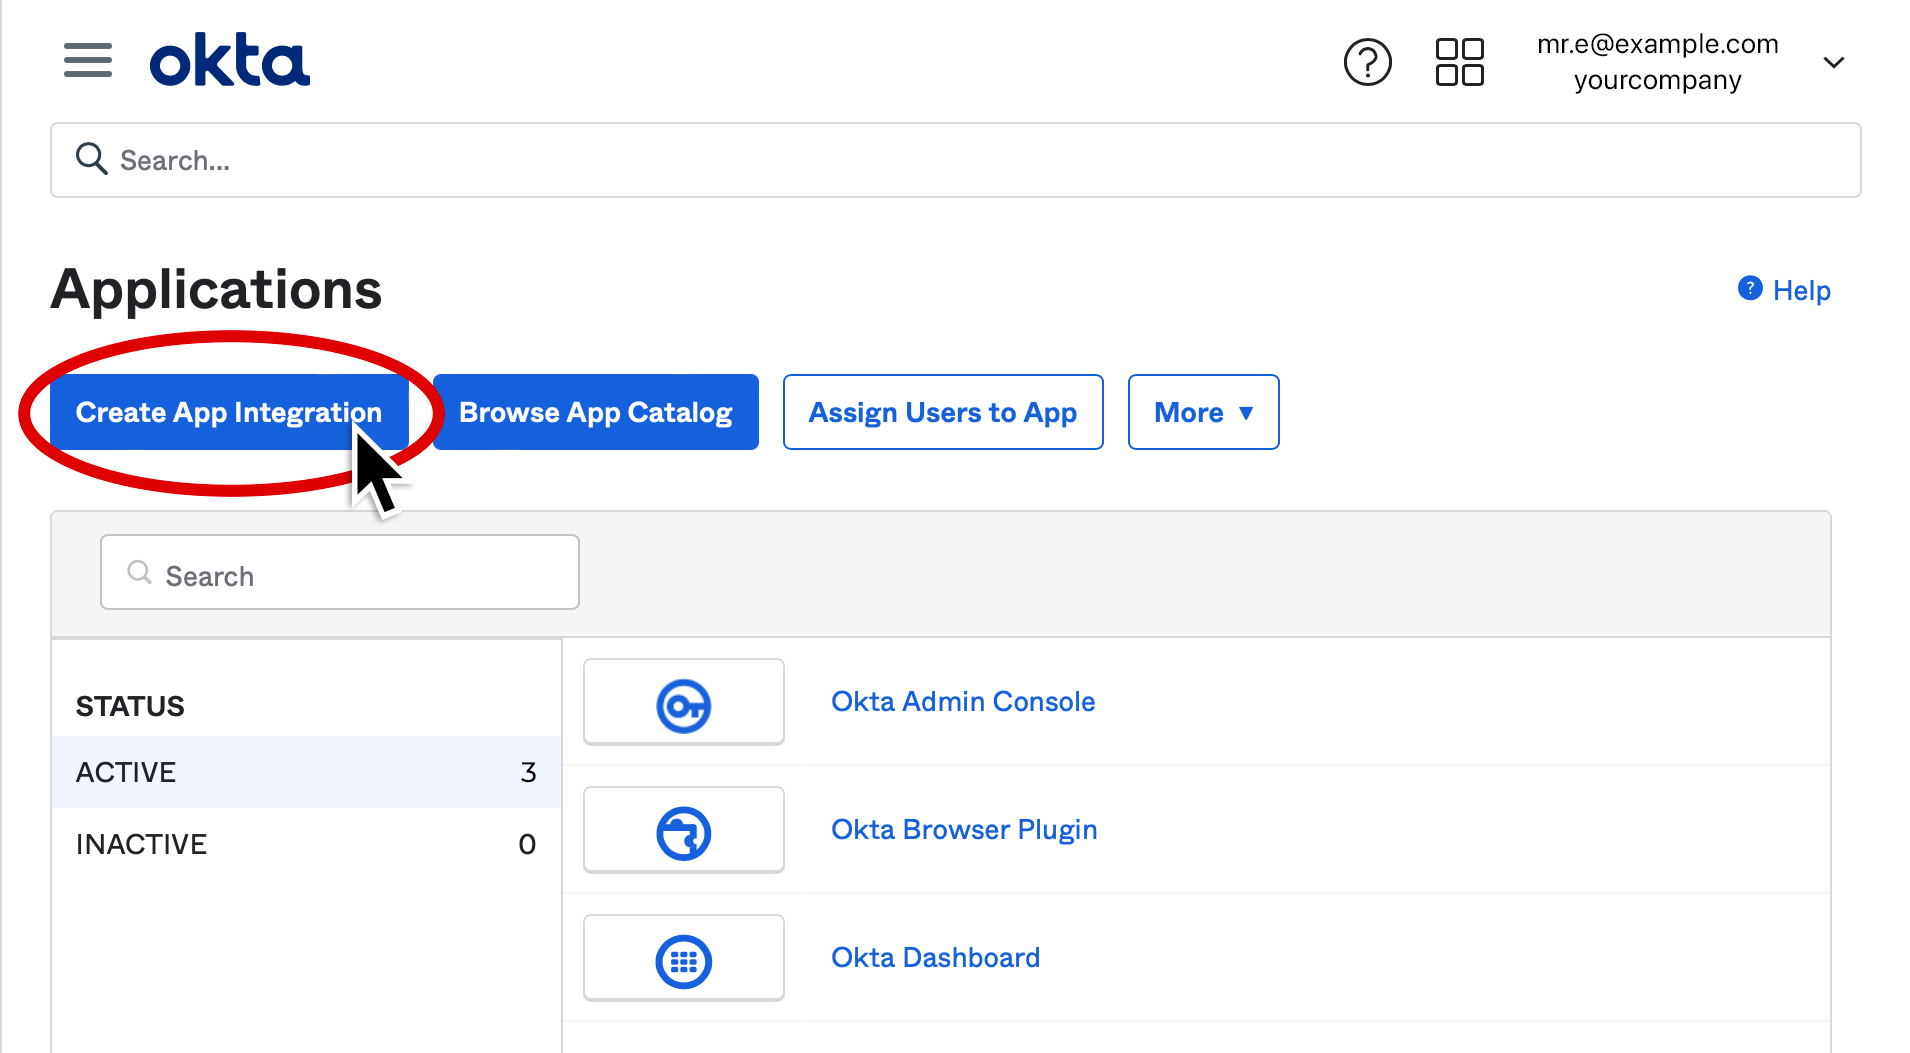
- In the sidebar on the left side of the screen, expand Applications, then click Applications.
If the sidebar is not present, click the"hamburger" menu at the top left.
- Click Create App Integration.
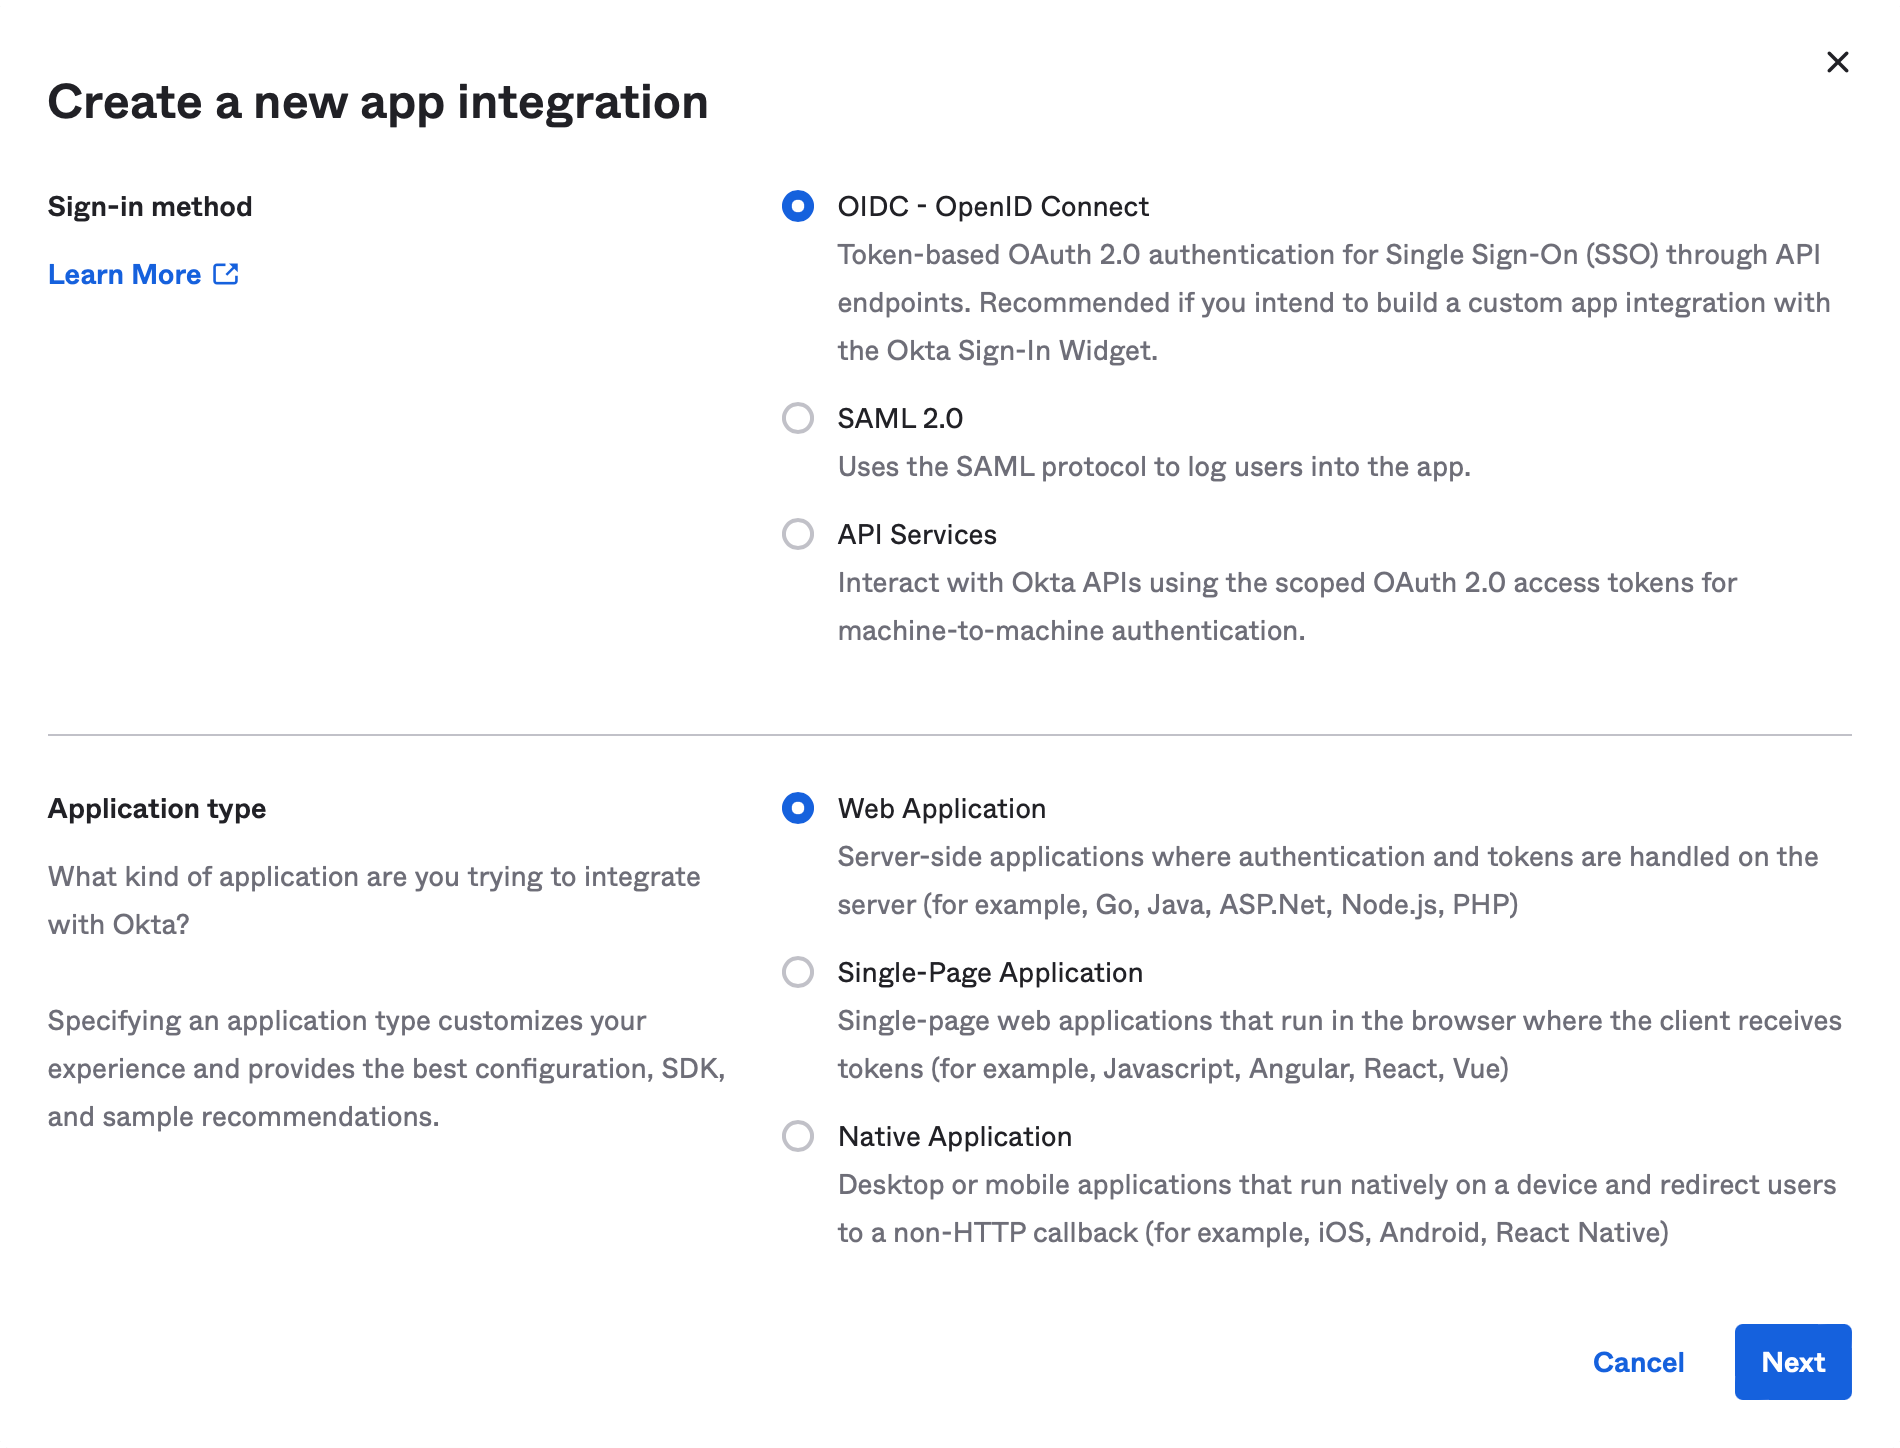
- For Sign-in method, select OIDC - OpenID Connect.
Once you do this, the window will expand to show Application type. - For Application type, select Web Application, then click Next.
- Enter
Extensis Connectin the App integration name field.
You can name this something else but just make sure you can recognize it.

-
Optional: Add a logo to your app.
- Drag the logo below to your desktop.

- Click the
Upload icon.
- Browse to your desktop and select the
extensis-connect.pngimage. - Click Apply in the Upload New Logo dialog.
- Drag the logo below to your desktop.
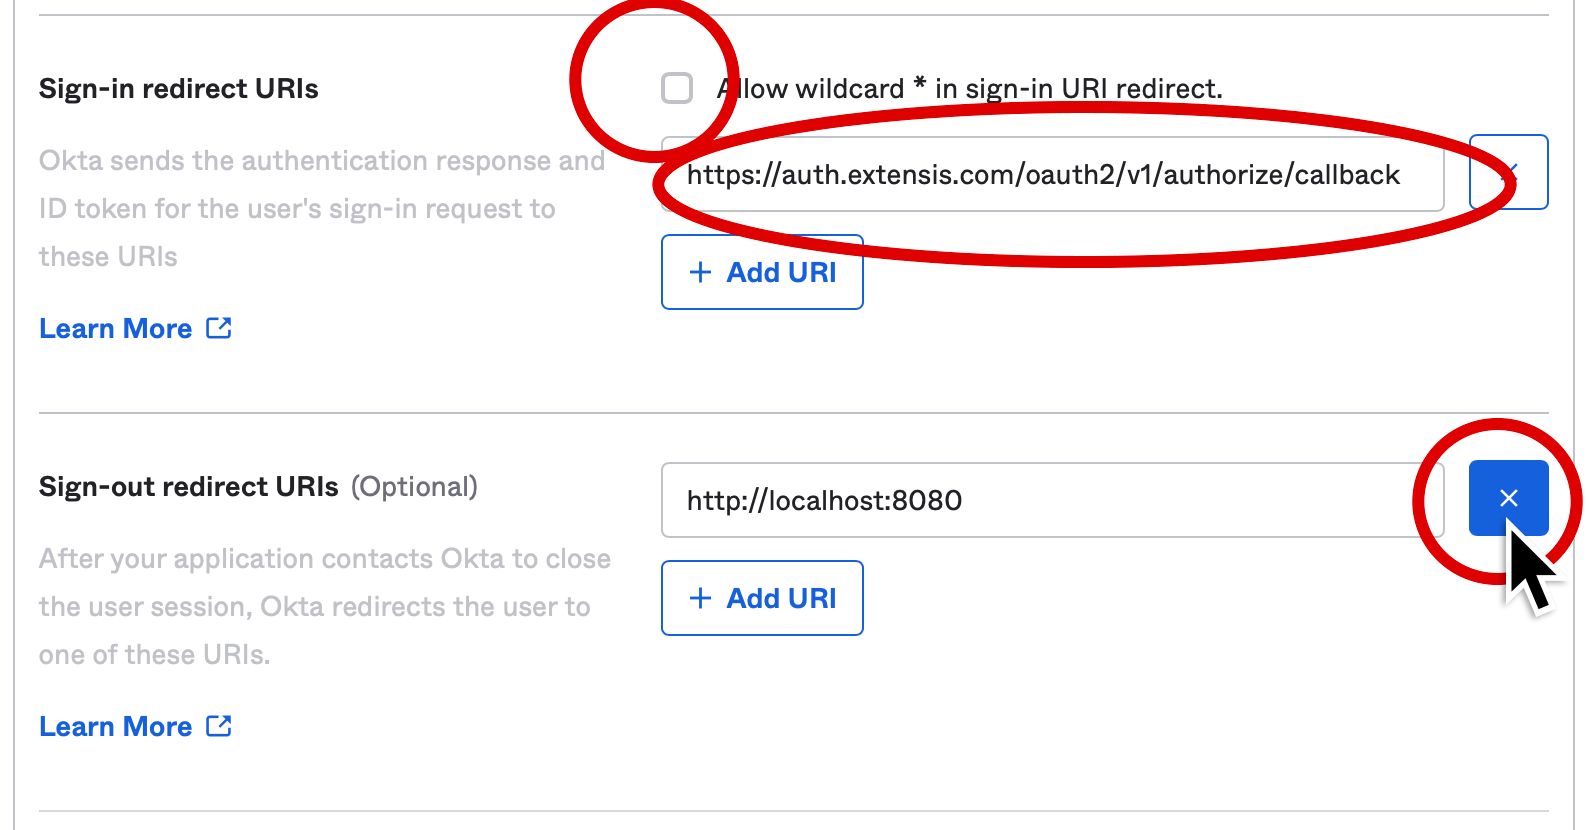
- In the first field under Sign-in redirect URIs, enter
https://auth.extensis.com/oauth2/v1/authorize/callback.
Do not select the Allow wildcard option. - Click
Clear to the right of the Sign-out redirect URIs field.
This will clear the field so that there is not an accidental redirect when a user logs out of Extensis Connect.
-
Assign groups for access control.
To limit access to Extensis Connect to one or more groups, use the following process:
- Under Assignments, select Limit access to select groups.
- In the Selected groups field, enter group names, separated by commas.
Connect will restrict access to members of these groups, so be sure everyone that you want to have access is a member of one or more of the selected groups.
For in-depth instructions on how to assign the app integration to individual users and groups, see the Assign app integrations topic in the Okta product documentation - Click Save.
Okta will display your application's page.
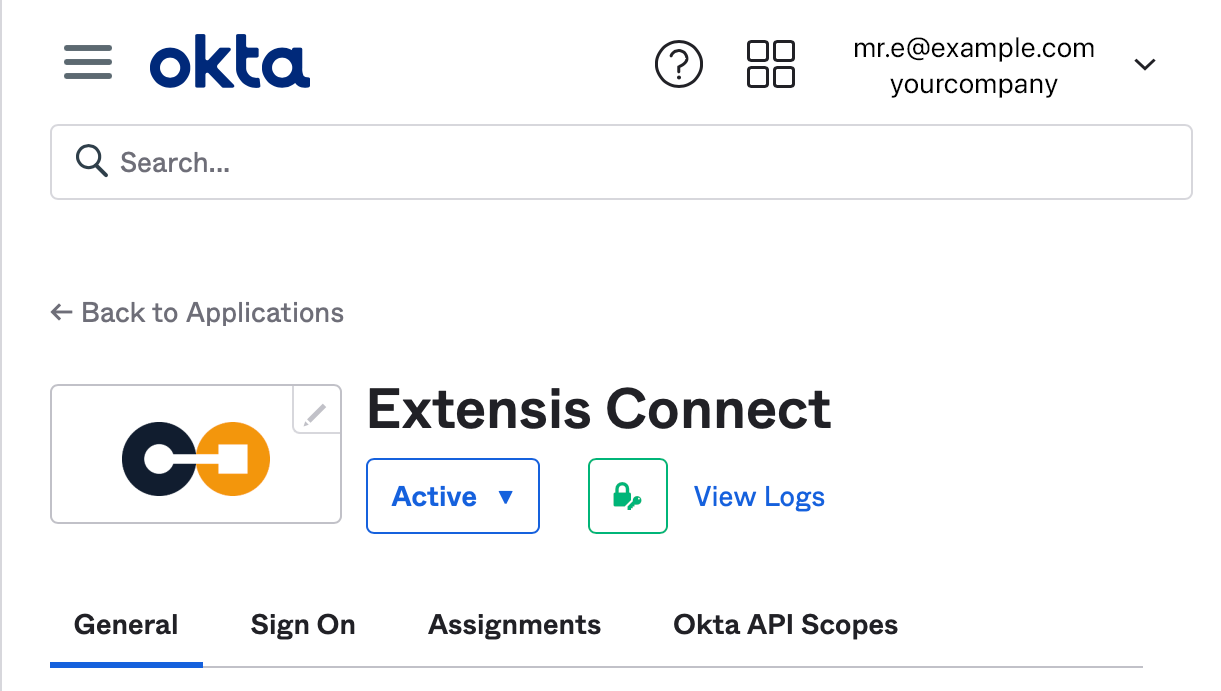
- Under Client Credentials, click Copy
next to the Client ID.
Paste this into a temporary text document so you can add it to Extensis Connect later. (Be sure to label this text as "Client ID".) - Under Client Secret, click Copy
to the right of the first secret in the list.
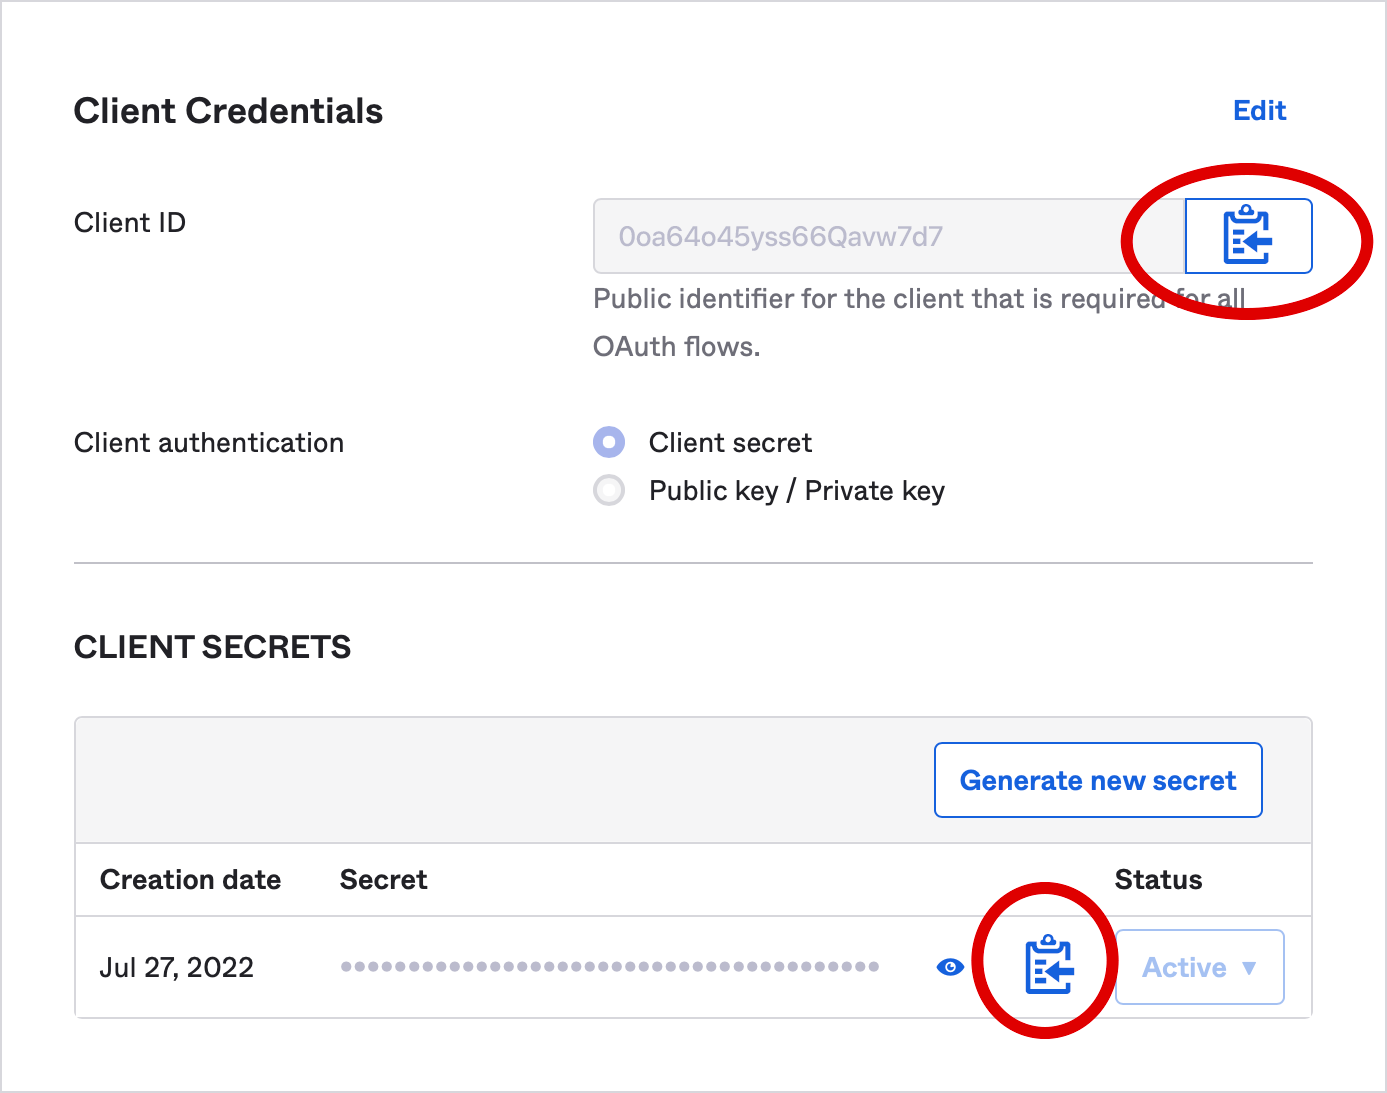
Note: If you configure an expiration date for this secret, you will need to renew the secret before it expires. It can be helpful to set a calendar reminder to do so before the secret expires, as you will be unable to login to Connect when the secret expires.
Paste this into the temporary document in your text editor.
That's it! The next step is to configure Okta within Extensis Connect.
These instructions are adapted from https://developer.okta.com/docs/guides/add-an-external-idp/oktatookta/main/. Please refer to this page first if you have questions on this process.
